Manual.ly Logo

Chicco Baby Hug 4 in 1 Instruktsiya

0,0 · 0 Рейтинги

PDF посібник · 112 Сторінок

українська

M: GO-GEM-FL-25
сторінка

/ 112

Loading...
c2b283e0701ef547d8f033ee65ada21c6ffd page 10
16
17
CLEANING
Clean the plastic parts with a soft damp cloth. Never use
abrasive detergents or solvents. If the highchair comes
into contact with water, dry the metal parts to prevent
the formation of rust.
MAINTENANCE
• This product requires periodical maintenance.
• Cleaning and maintenance operations must only be
carried out by an adult.
• Periodically check the product for broken, damaged or
missing parts: do not use it in this case.
• To avoid friction that may compromise the correct
functioning of the product, ensure that all the moving
plastic parts located along the metal frame are free of
dust, dirt and sand.
• If necessary, lubricate the moving parts with dry sili-
cone lubricant.
• Store the product in a dry place.
COMPONENTS
The product is completely disassembled when pur-
chased; check that all of the components listed below
are present. If any part is missing contact ARTSANA’s
CUSTOMER SERVICES.
The product and all of its components must always be
assembled by an adult.
A - Height adjustable pedestal frame
A1 - 4 wheels with brakes
B - Seat frame
C - Seat structure
D - Tubular seat frame
E - Fabric (with shoulder straps)
F - Booster cushion
G - Toybar
G1 - Light / sound game buttons
G2 - 3 soft toys
I - Upper fabric zips
L - Plastic clips
M - Height adjustment pedal
N - Backrest recline lever
ASSEMBLY
The product is not assembled when purchased. To use
it, carry out the following assembly operations:
1. The rst thing to do is assemble the “A1” wheels on
height adjustable base frame “A”. To do this place the
frame on a rug or soft surface so as not to damage the
oor or frame. Assemble the 4 “A1” wheels inserting
the pins in the 4 holes under height adjustable base
frame “A” as shown in gure 1.
WARNING: Fully insert the wheel pin into the hole in
the base. At this point the base can be rested on the
oor.
2. Insert the fasteners of seat frame “B” into the respec-
tive tubes on seat structure “C” until they click into
place (Fig. 2).
3. Assemble the seat (seat frame “B” + seat structure
“C”) on the base: insert the two tubes on base “A”
into the corresponding holes on seat frame “B” until
they click into place (Fig. 3).
WARNING: The backrest must face the height adjust-
ment pedal (I) as shown in Fig. 3a.
4. Insert tube “D” into the corresponding holes on seat
frame “B” until they click into place (Fig. 4).
5. To assemble fabric “E” line up the holes on the fabric
with the restraint system installed on seat structure
“C”. Pass the two lateral arms of seat frame “B” through
the side fabric holes (FIG. 5), insert the pins of the
arms into the holes on either side of the backrest (FIG.
5a) until they click into place.
WARNING: Check that both arms are assembled cor-
rectly.
6. Attach fabric “E” using the two perimeter zips above
seat frame “B” (Fig. 6).
7. Pass the crotch strap and waist straps on seat struc-
ture “C” through the holes of fabric “E” (Fig. 7-7a-7b-
7c).
8. Attach the fabric (E) to the bottom of seat structure
“C”, making sure to insert all of the plastic clips in the
right slots (Fig. 8-8a).
BOOSTER CUSHION
9. Reducer cushion “F” is ideal from birth and can be
used or removed as necessary. To attach it to the
seat, place it on the fabric, pass the crotch strap and
waste straps through the holes in booster cushion “F”
(reclined cradle mode), (Fig. 9). In highchair mode it
is also necessary to pass the shoulder straps through
the holes of the booster cushion (Fig. 9a).
TOYBAR
10. The toys can be attached to the toybar by passing the
straps through the plastic openings on the bar (Fig.
10) and fastening the velcro.
11. Assemble the toybar (with the light positioned to-
wards backrest recline lever “N”) inserting the pins of
the bar into the holes on seat frame “B” until it clicks
into place (Fig. 11).
12. To incline the toybar in the three possible positions
press the side buttons (Fig. 12).
13. To remove the toybar press the buttons on the inside
of the bar support and pull upwards (Fig. 13).
WARNING: Always check that the toybar is properly
fastened before using it.
WARNING: To prevent possible injury by entaglement,
remove this toy when the child starts trying to get up
on its hands and knees in a crowling position.
HEIGHT ADJUSTMENT
14. Once assembled, the product can be adjusted to
various heights in all congurations. To adjust its
height, hold down height adjustment pedal “M” (Fig.
14) and lift or lower the seat to the desired height.
ADJUSTING THE BACKREST
15. The backrest can be adjusted to four dierent posi-
tions. To do this, push down on backrest recline lever
“N” (Fig. 15).
Position 1 – Crib mode (Fig. 15a)
Position 2-3 – Reclined cradle mode (Fig. 15b)
Position 4 – Highchair and rst chair at the table mode
(Fig. 15c)
These adjustments can also be made with your child
seated in the product. In this case it will be slightly more
dicult.
WARNING: Always check that the backrest is properly
locked before use.
USING THE SAFETY HARNESS
16. With fabric “E” assembled on seat structure “B”, there
will be a crotch strap, two waist straps and two
shoulder straps (Fig. 16).
17. CRIB MODE - WARNING: Completely remove all
safety harnesses making sure to keep them out of
the reach of your child (Fig. 17).
18. RECLINED CRADLE MODE - WARNING: A 3-point
restraint system must be used: crotch strap + waist
straps (Fig. 18).
19. After placing your child in the seat, reclined cradle
mode, fasten the straps by passing the two prongs
through the crotch strap buckle; adjust the waist
straps so that they t closely around your child’s
waist (Fig. 19).
20. HIGHCHAIR AND FIRST SEAT AT THE TABLE
MODE - WARNING: A 5-point restraint system
must be used: crotch strap + waist straps + shoulder
straps (Fig. 20).
WARNING: In this conguration the toybar must al-
ways be positioned behind the backrest.
21. After placing your child in the seat in highchair
mode, fasten the straps by passing the two prongs
through the shoulder strap buckle (Fig. 21) and then
through the crotch strap buckle (Fig. 21a); Adjust the
height of the shoulder straps so that they correctly
t your child’s shoulders.
Always make sure that the straps are fastened correctly.
To unfasten the strap, press and pull the side prongs.
WARNING: When using the product, always fasten the
straps by inserting them in the crotch strap and check
that they are tight enough and properly fastened.
22. The safety harness straps can be removed (for washing
or for use in the crib/reclined cradle conguration).
To remove the harnesses pull the waist and crotch straps
out from the holes in the fabric (Fig. 22-22a-22b) until
they are hidden on the seat frame and pull the shoulder
straps out from the fabric holes on the backrest (Fig. 22c
-22d). After removing the safety harnesses, make sure
that the harnesses are correctly re-assembled.
To re-assemble the safety harnesses, carefully follow the
steps below:
23. Follow point 7 of the ASSEMBLY paragraph to re-
assemble the waist straps and crotch strap. For the
shoulder straps, pass the strap through the hole as
shown in Fig. 23, making sure that the length adjust-
er is positioned as shown in the gure.
Take the plastic hole of the shoulder straps and pass it
through the fabric ring of the harness (Fig. 23a).
Having performed this operation correctly, pull the har-

Спілкуйтеся з інструкцією до Chicco Baby Hug 4 in 1 за допомогою ШІ

Отримуйте миттєві відповіді ШІ з інструкції до Chicco Baby Hug 4 in 1

Запитуйте будь-що про Chicco Baby Hug 4 in 1. Відповіді беруться з цієї інструкції із зазначенням сторінок, на яких вони ґрунтуються.

Baby Hug 4 in 1 Графік технічного обслуговування

Після кожного прання
Перевірити тканину та шви

Перевіряйте стійкість тканини та швів після кожного прання, щоб забезпечити безпеку.

Періодично
Перевірка на пошкодження

Регулярно перевіряйте виріб на наявність поломаних, пошкоджених або відсутніх деталей і не використовуйте його, якщо вони виявлені.

Періодично
Очищення рухомих пластикових частин

Видаляйте пил, бруд і пісок з пластикових частин, що ковзають по металевих трубках, щоб запобігти тертю.

За потреби
Змащування рухомих частин

При необхідності наносите сухий силіконовий мастильний засіб на рухомі частини для забезпечення правильної функції.

M: QW-35-FL

Задати Питання

0/1000

Чи рекомендуєте ви Baby Hug 4 in 1?

Так Ні

Frequently Asked Questions

A

Її можна використовувати від народження в режимах ліжечка та похилої колиски до 9 кг, а потім приблизно з 6 місяців у режимі високого стільчика та першого крісла — до 36 місяців і 15 кг.

Це відповідь корисна?

A

Ні. Похила колиска не призначена для тривалого сну. Якщо дитині потрібно спати довше, слід використовувати належне ліжечко або ліжко.

Це відповідь корисна?

A

Так. Дугу з іграшками можна встановлювати або знімати за потреби. У режимі високого стільчика вона завжди має бути розташована позаду спинки для безпеки.

Це відповідь корисна?

A

Тканину слід прати лише вручну в холодній воді. Не відбілювати, не сушити в сушильній машині, не прасувати й не здавати в хімчистку. Після прання перевірте шви та стан тканини.

Це відповідь корисна?

A

Так. Усі чотири колеса мають бути заблоковані щоразу, коли виріб використовується, щоб допомогти зберегти його стійкість і зменшити ризик руху або перекидання.

Це відповідь корисна?

A

Перевірте, чи всі частини правильно зібрані, чи задіяні механізми блокування, чи правильно пристебнутий ремінь безпеки, а також чи немає зламаних, порваних або відсутніх елементів.

Це відповідь корисна?

M: GO-GEM-FL-25

Переваги та Недоліки

Переваги

  • Конструкція 4-в-1 росте разом із дитиною від народження до 36 місяців.
  • Регульована висота та спинка з нахилом підтримують різні щоденні потреби.
  • Знімна дуга з іграшками, світлом і звуками додає розваг на ранніх етапах.
  • Знімна тканина, яку можна прати, та частини ременів спрощують очищення й догляд.
VS

Недоліки

  • Зміна режимів потребує уважного складання дорослими та регулярних перевірок безпеки.
  • Виріб завжди потрібно використовувати з правильною системою утримання.
  • Режими ліжечка та похилої колиски обмежені відносно коротким віковим періодом.
  • Батарейки та рухомі частини дуги з іграшками потребують періодичного догляду та уваги.
M: GO-GEM-FL-25

Товар Характеристики

Вага

10,20кг

Розміри (ШxВxГ)

850x880-1220x600мм

Особливості

регулювaна висота, трансформується у стильчик для годування, функція мелодії

M: GO-GEM-FL-25

Опис Продукту

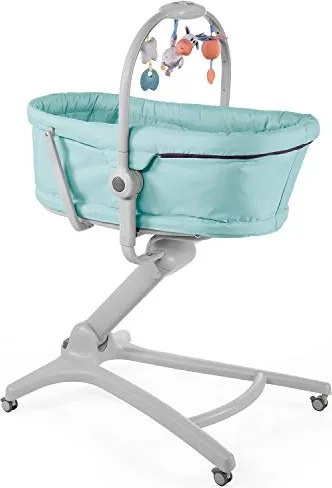
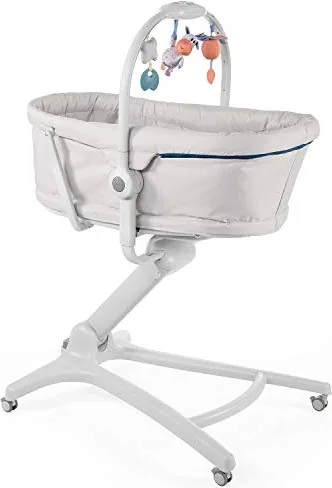
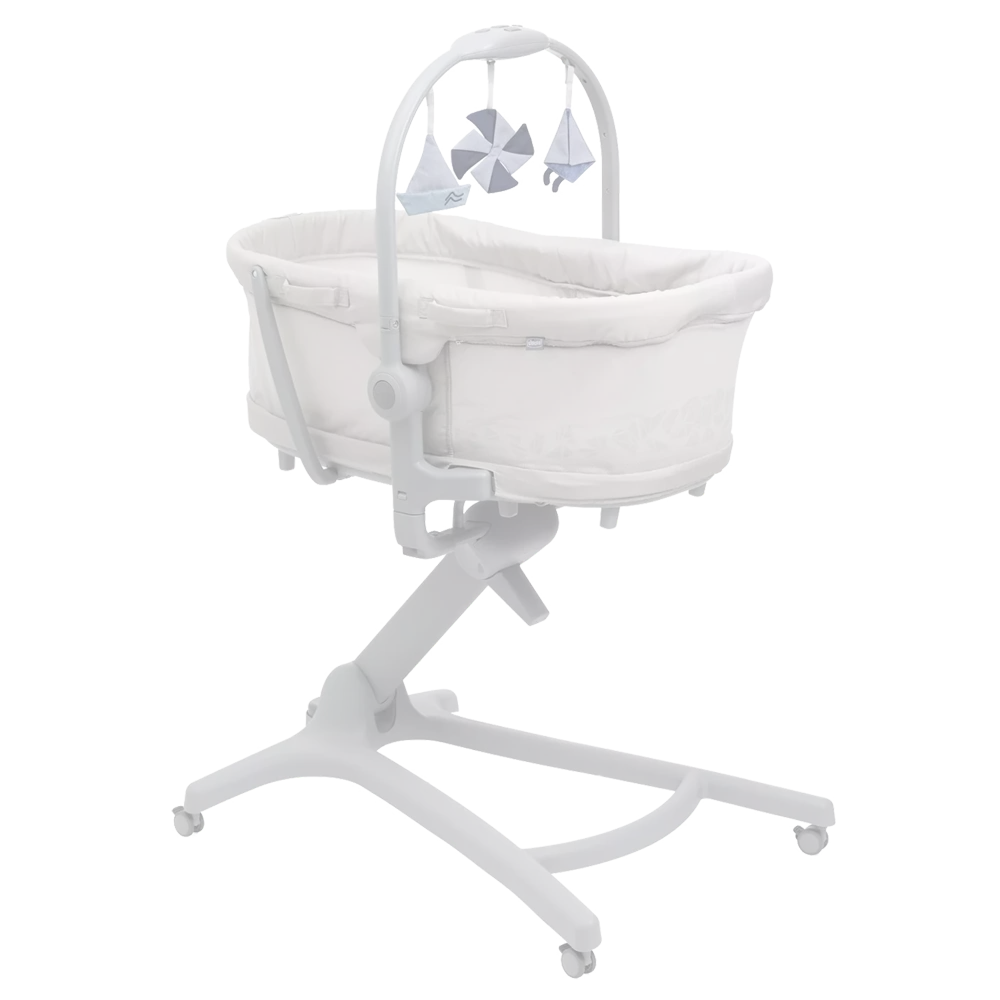
Chicco Baby Hug 4 in 1 Люлька: одне розумне сидіння на перші три роки

Chicco Baby Hug 4 in 1 Люлька вирізняється як універсальний помічник для дитячої кімнати, який легко супроводжує дитину через кілька ранніх етапів. Від перших днів удома до віку малюка, коли він уже ходить, вона може працювати як ліжечко, похила колиска, високий стільчик і перше крісло за столом. Така гнучкість робить її привабливою для батьків, які цінують компактні рішення без шкоди для комфорту та практичності.

У режимі ліжечка вона пропонує затишне місце для відпочинку новонароджених до 9 кг, а режим похилої колиски дає сім’ям зручне місце для наглянутого відпочинку в перші місяці. Пізніше, коли дитина може сидіти самостійно, виріб переходить у формат високого стільчика та першого крісла, придатного для їжі та щоденних сімейних моментів до 36 місяців і 15 кг. У результаті це один предмет дитячого обладнання, який адаптується до змін у режимі дня замість того, щоб простоювати вже через кілька місяців.

Конструкція також орієнтована на зручність. Регульована система висоти допомагає підлаштувати сидіння під різні варіанти меблів, а спинку можна відкидати в кілька положень відповідно до потрібного режиму використання. Знімна дуга з іграшками, світлом і звуками додає цікаву розвагу, особливо на ранніх етапах. Для багатьох батьків інструкція Chicco Baby Hug 4 in 1 Люлька стає тут корисною, оскільки пояснює, як безпечно переходити між режимами та максимально використовувати кожну конфігурацію.

Ще одна сильна сторона — щоденний догляд. Знімні текстильні частини, ремені безпеки та поверхні, які легко очищувати, роблять виріб зручнішим для зайнятих сімей. Продукт також створено з акцентом на стійкість і нагляд, нагадуючи доглядальникам фіксувати колеса, перевіряти точки блокування та використовувати правильну систему утримання для кожного режиму. Ці деталі важливі, адже багатофункціональний виріб має бути таким само безпечним, як і практичним.

Примітки

  • Найкраще підходить для батьків, які шукають довговічне та компактне рішення.
  • Завжди уважно виконуйте кроки налаштування перед кожною зміною режиму.
  • Регулярний огляд і належне очищення допомагають зберегти працездатність і зовнішній вигляд.
  • Дуга з іграшками цікава для молодших немовлят, але її слід знімати, коли дитина стає більш рухливою.
M: GO-GEM-FL-25

© Copyright 2026 Manual.ly